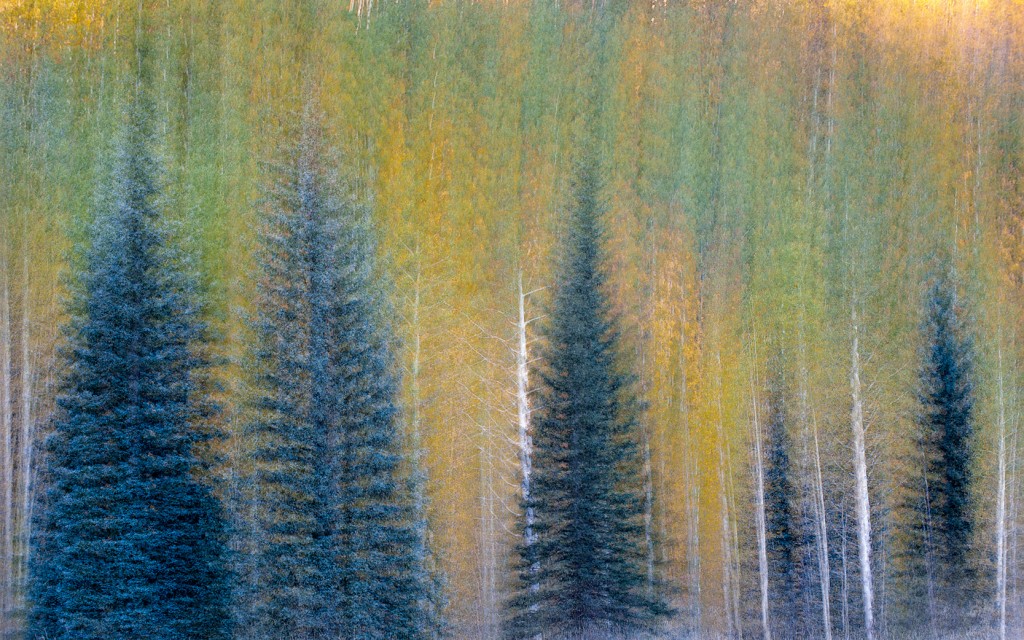
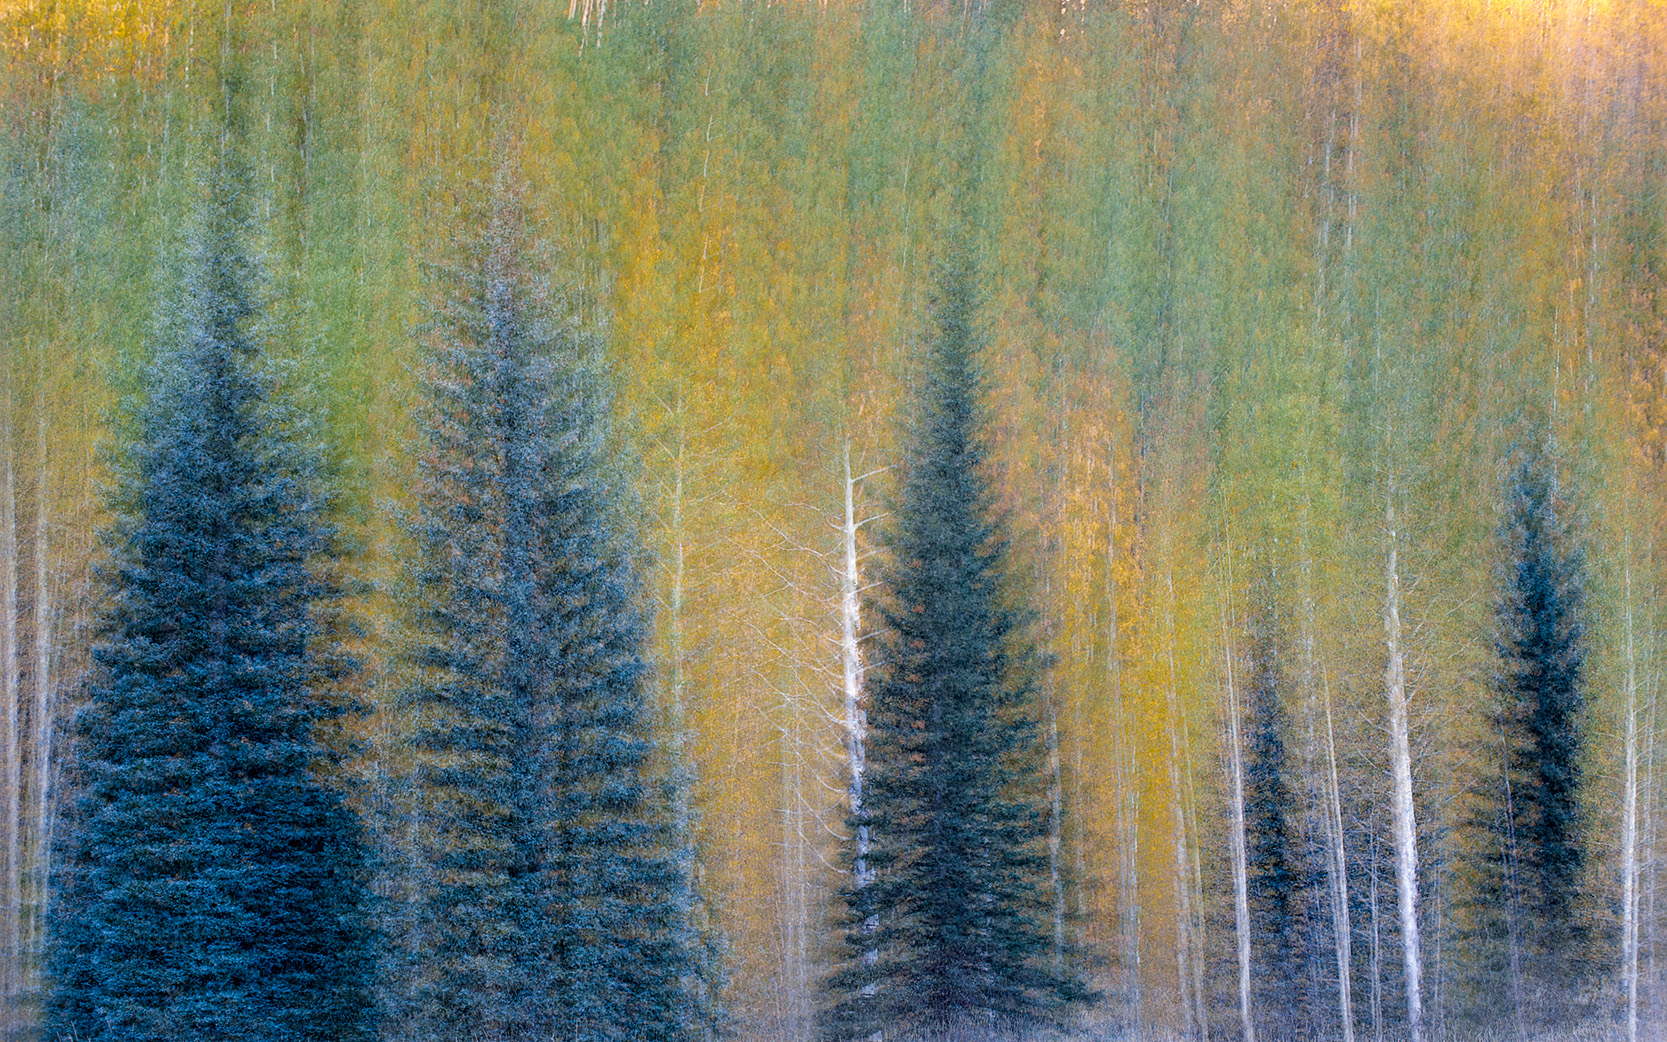
 Another multiple exposure. This time adding the ubiquitous evergreen trees. In the past, I had not considered adding evergreens to my compositions for fear they were too heavily weighted visually. This year, I was actually drawn to them and found them to add interest.
One of the things I suggest we bring with us as we make our images, is our ever maturing sense of composition. Each year we photograph we learn more, and thus mature in our ability to see and compose. We also learn from others, and add that to our visual vocabulary. I believe this is exactly what happened for me here. It’s been three years since I’ve been to Colorado. I’ve learned and grown as a photographer, and this image is a more mature composition for me.
As always, I’m interested to know your thoughts.
[Tweet “Visual Maturity”]


I need to check out your site, do you have some blueprint you follow for this VERY COOL picture! I am super interested in finding out how you did this. Love it!
Diana, this is simply a multiple exposure using my Nikon camera. I set the amount of exposures to 6 or 9 typically. I like to see what each gives me. I then move the camera up in very small increments using the focusing square in my viewfinder as a reference. In other words, I make my movements the size of the focusing square… I hope that helps. If you don’t have multiple capability in your camera you can still shoot a set of images making the same movements and assemble them in photoshop. I have a video tutorial on this site that shows how to do this.
Diana, the video I referenced in my reply speaks of a script you can load which will do the assembly of the multiple for you… .it can be found here. http://handbook.outbackphoto.com/section_photo_tuning_filters/index.html
If you want to assemble them yourself. Simply load the images into Photoshop as layers. Now change the blend mode to “screen” and then change the opacity as follows. For layer one keep it 100%, layer two is 1/2 or 50%, layer three 1/3 or 33% and so on for as many layers as you have. Once you change the opacity for the last one, you will see your multiple appear. Now do your normal Photoshop processing.
You are so helpful! I will definitely be trying this! Thanks again for the tutorial!
Diana
Hi John,
I like the contrast of the darker green with the yellows in the background. I was looking for the bottom of the evergreens – I think this composition might be stronger if you showed more of the bigger trees. Did you try a verticle? Thanks SO much for reminding me of my Nikon’s multiple exposure setting!!! I hardly ever use it and actually had forgotten this! This reminder is just in time. Tracy and I are taking our new 5th wheel, which we have named Sequoyah, to the Eastern Sierras next week for 10 days of fall color. I am salivating at the thought of getting back there – can you believe it – a first time for this Californian!
A fair critique Barbara, however, there was a foreground fence that ruined the multiple… I had to shoot above it to eliminate it. The Eastern Sierra this time of year is tremendous! Enjoy.
John — I love this picture and the earlier multiple exposure shot that you took. The multiple exposure really creates an tremendous abstract that, I’ll bet, is a lot more interesting than a “documenting” single shot might have been.
Glad to see that you’re still getting some value out of the Nikon — at least until Fuji comes through with multiple exposure capability.
Thanks for your comment Jerry. Glad you’re enjoying the multiples. And yes, the Nikon is still worth something! 🙂
John, I love the photo. I didn’t compose mine with as many evergreens and it does make the image more striking.
I practiced with multiples while I was in Arizona and they made for some very interesting images.
Thanks for such an awesome workshop – can’t wait for the next one!
Oooh….I like this one!
Finally one you like!! 😉